Table of Contents
DIY V Cut: 9 Steps To Get The Perfect Haircut At Home
DIY V Cut: 9 Steps To Get The Perfect Haircut At Home
DIY V Cut: 9 Steps To Get The Perfect Haircut At Home
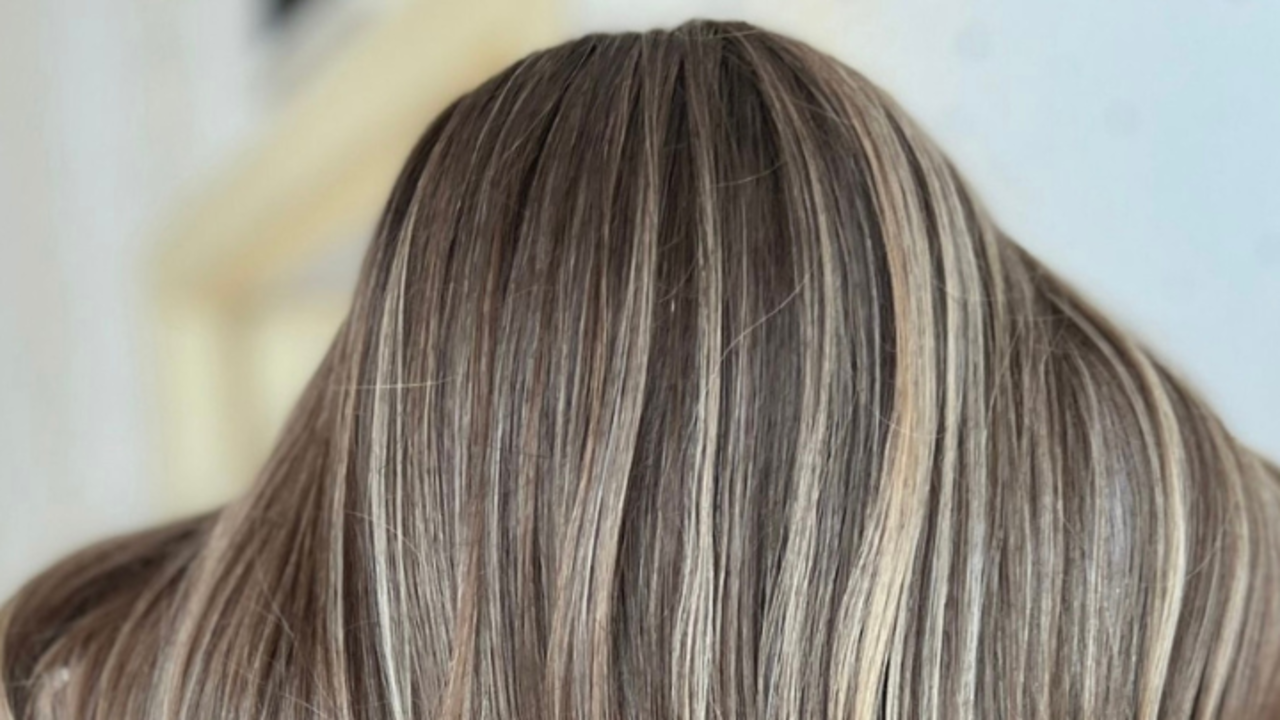
Prepare Your Tools
Ensure you have the right tools ready: a pair of sharp hair-cutting scissors, a comb, hair clips, and a mirror (or two, for viewing the back of your head).
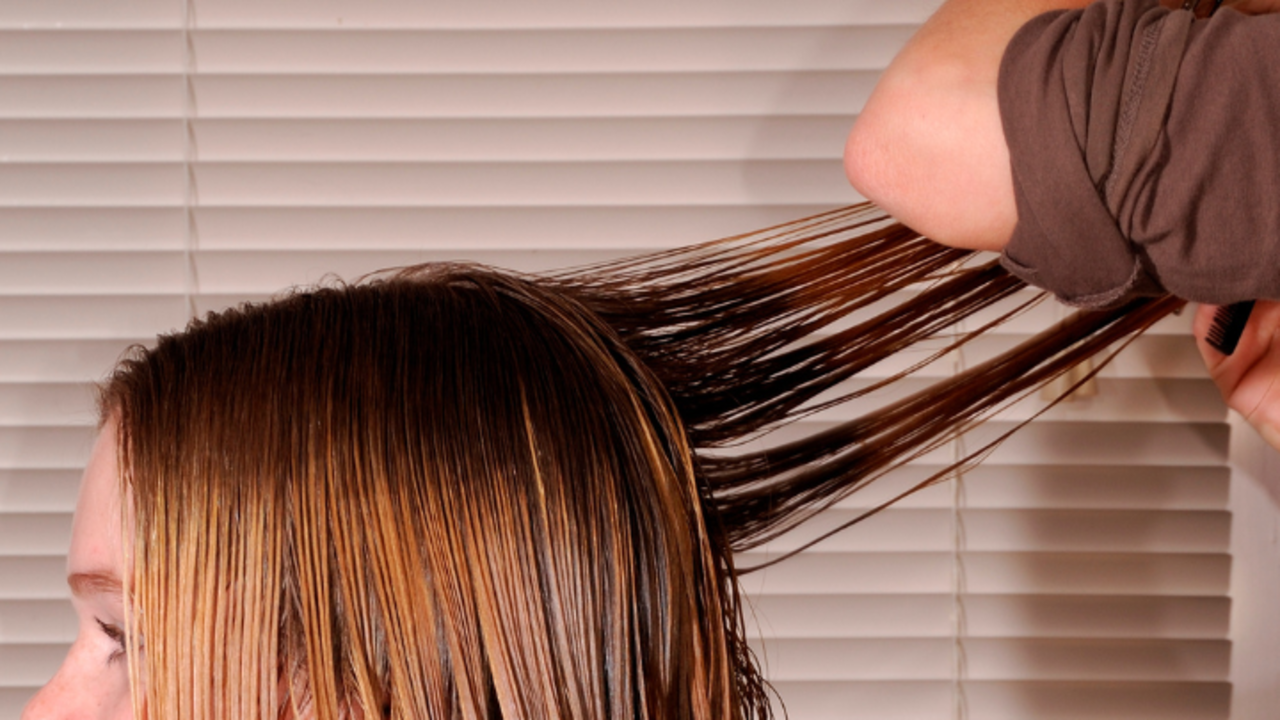
Wash and Dry Your Hair
Start with clean hair. Wash and condition your hair, then dry it fully or at least until it is slightly damp. This makes the hair easier to manage and ensures an even cut.

Detangle Your Hair
Use a wide-tooth comb to detangle your hair completely, ensuring there are no knots or tangles that could affect the cut.

Part Your Hair Down the Middle
Create a middle part and brush your hair evenly down the sides. Make sure the part is straight and runs from the top of your forehead to the nape of your neck.

Pull Hair to the Front
Separate your hair into two equal sections and pull them to the front of your shoulders. This positioning helps you visualize the length and the angle you need to cut for the V shape.

Decide on the Length
Decide how deep you want the V-cut to be. Hold the hair on one side and point the scissors at an angle toward the middle of your back, cutting from the front down toward your desired length.

Repeat on the Other Side
Repeat the angled cut on the other side, ensuring the point of the V meets at the center of your back. Check for symmetry by bringing the two sections together in the middle and making adjustments if necessary.
Blend the Layers
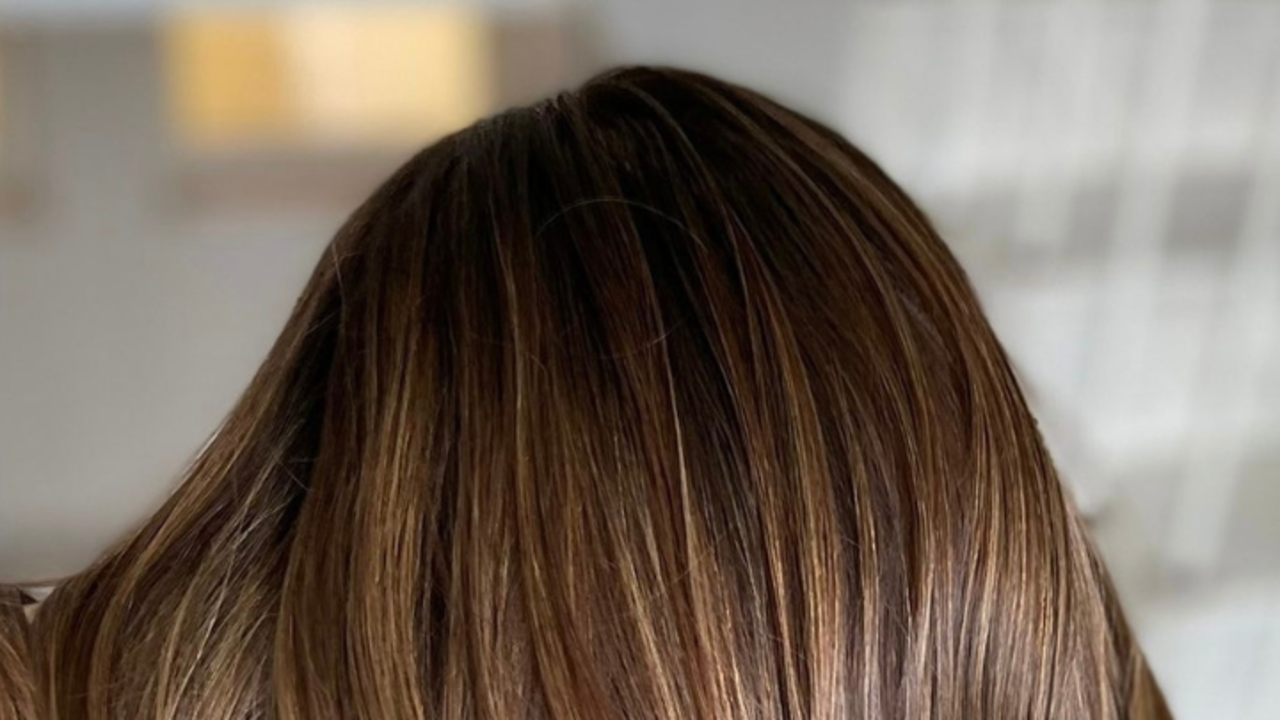
Comb the hair down and check the back in the mirror. If needed, create soft, blended layers by cutting at a slight angle along the edge of the V to achieve a natural, layered look.
Finalise and Check the Shape
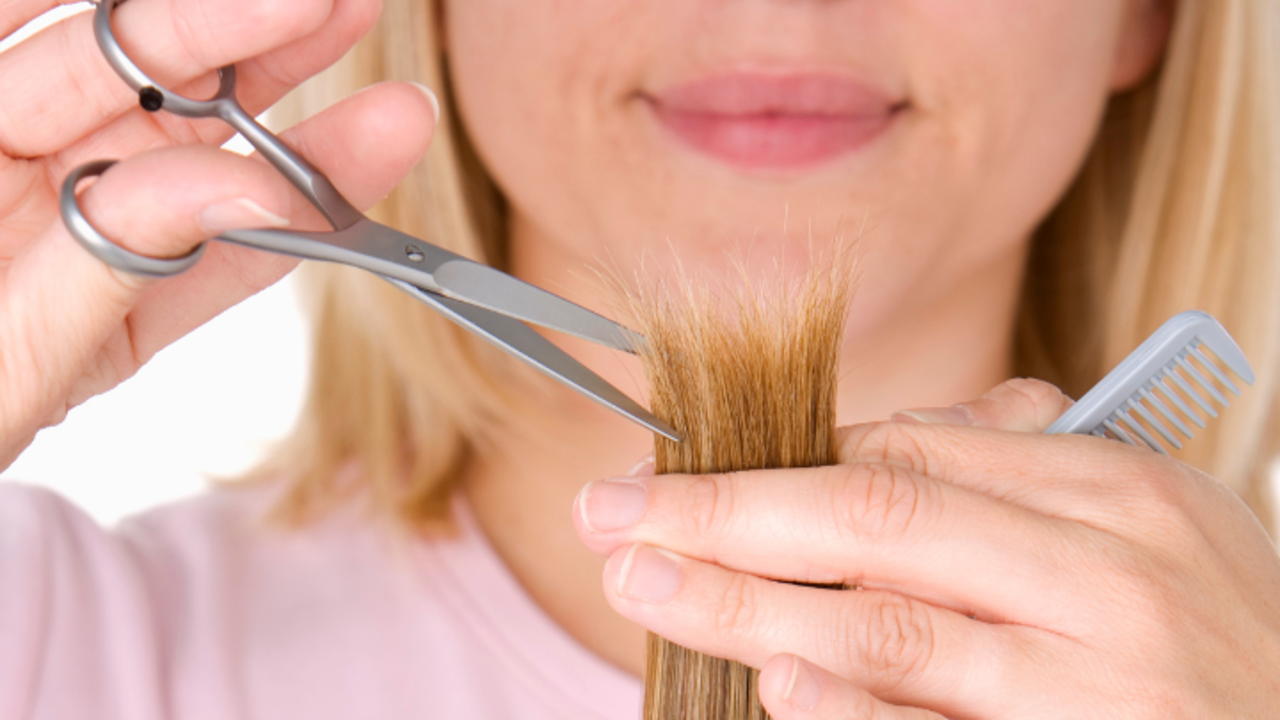
Give your hair a final brush and check the back again to ensure the V shape is even. Make any final small adjustments, then style as desired.

